Exporter
Table of Contents
Overview
The Exporter is the final step after editing. It renders your timeline into a finished video file. You can reach it from the Editor by clicking Export in the top bar, and return to the Editor at any time using the Back to Editor link.
Exporter in Screen Script
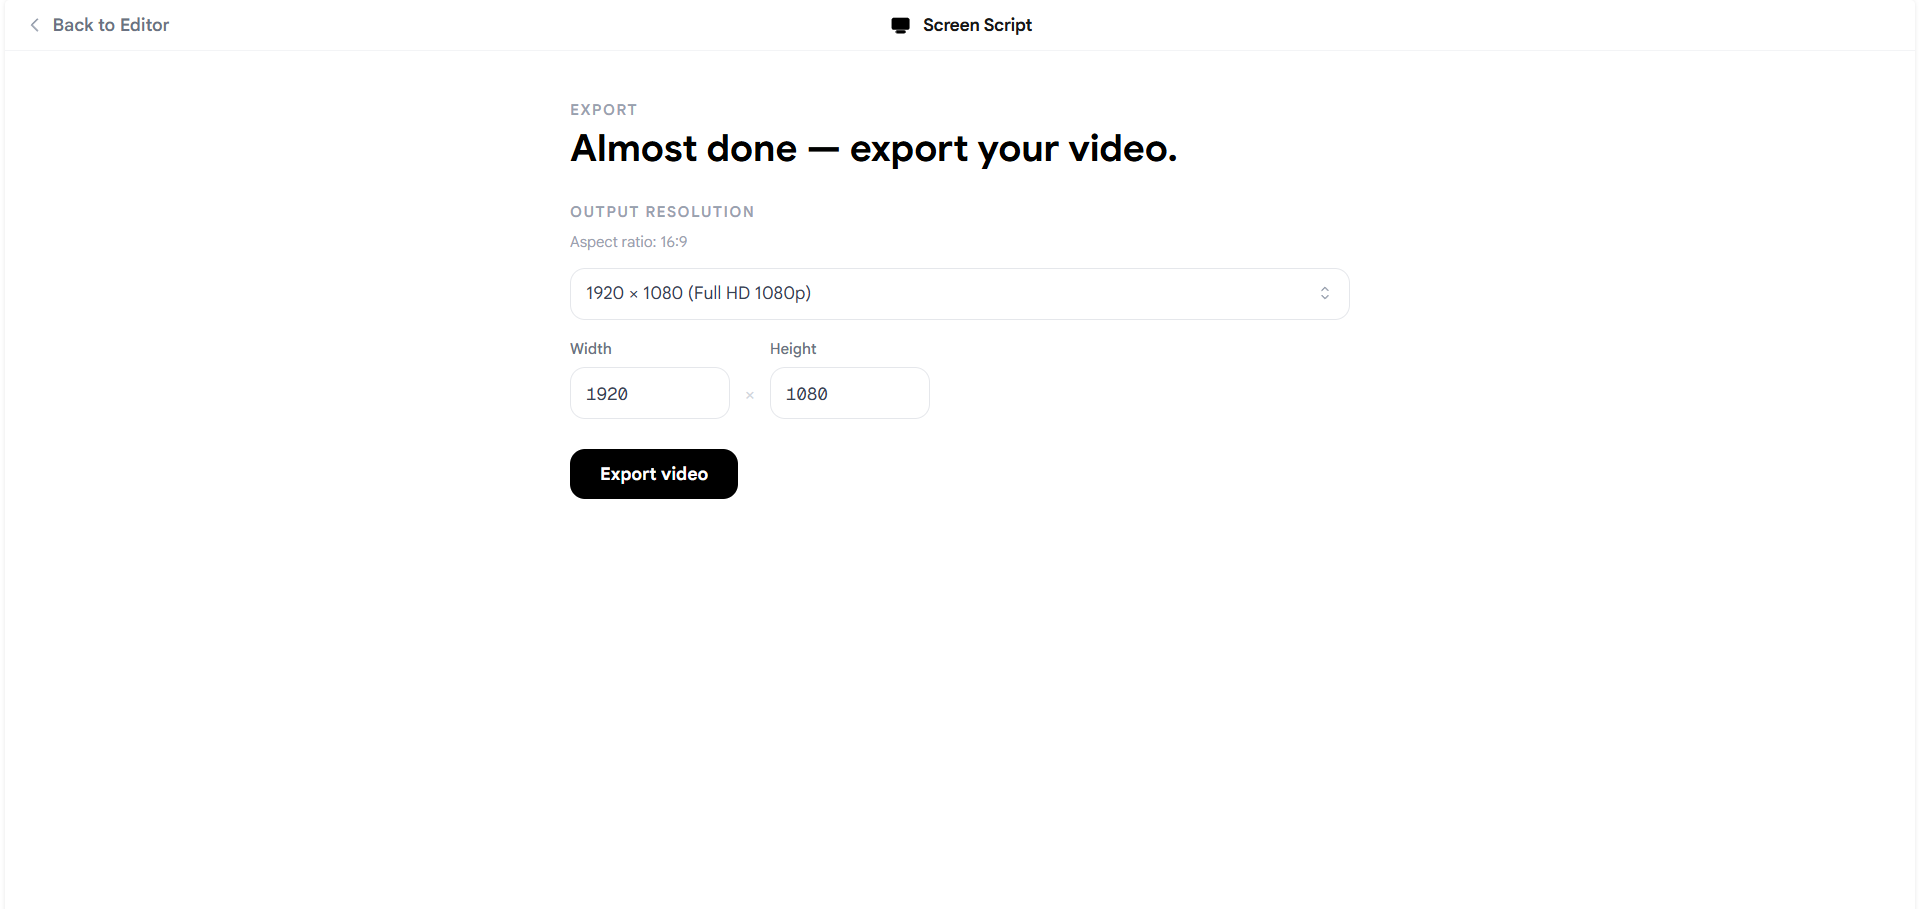
Output Resolution
The Exporter locks the output to the aspect ratio set in your Project Settings — this cannot be changed here. What you can control is the resolution within that aspect ratio.
Preset resolutions
Use the dropdown to select a common resolution for your aspect ratio. For example, at 16:9 you can pick from options like 1920 × 1080 (Full HD 1080p). The Width and Height fields update automatically when you choose a preset.
Custom resolution Type directly into the Width or Height fields to set a custom output size. The aspect ratio is always preserved, so adjusting one dimension will constrain the other.
Higher resolutions produce sharper video but take longer to render and result in larger file sizes.
Exporting Your Video
Once you are happy with the resolution:
- Click Export video.
- Screen Script renders the timeline — this may take a moment depending on the length and resolution of your video.
- When rendering is complete, you will be prompted to save the exported MP4 file.
Slow render? Some devices default to a power saving mode which significantly limits CPU and GPU performance. Switching your device to Performance mode before exporting can make a very noticeable difference in rendering speed. On Windows, this is found in the battery/power settings in the system tray. On macOS, check Energy Saver settings in System Settings.